
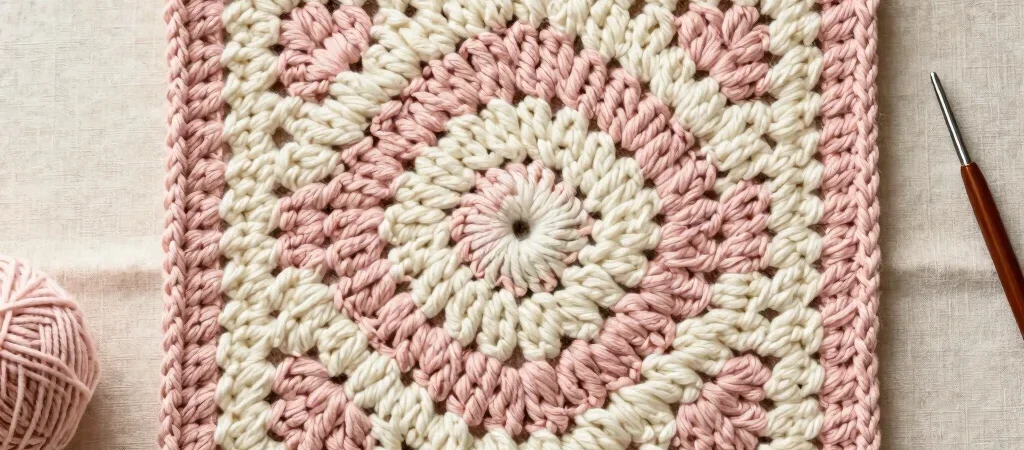
A granny square is a lovely first project because its shape becomes clearer with every round. This beginner-friendly version uses US crochet terms and the classic groups of double crochet that leave room to play with color.
Gather yarn and hook
Choose a smooth worsted-weight yarn and a hook that suits its label; a 5 mm hook is a reasonable place to start. You will also need scissors and a yarn needle for the ends. If you are still learning to count stitches, keep a stitch marker nearby for the start of each round.
The pattern uses chain (ch), slip stitch (sl st), and double crochet (dc). The first three chains of a round count as one dc, so keep that in mind when you join the round.
Make the first four corners
Chain 4 and join with a slip stitch in the first chain to make a ring. Chain 3, then work 2 dc into the ring; chain 2 to form a corner. Work 3 dc into the ring, then chain 2, and repeat that cluster-and-corner sequence twice more.
You should now have four groups of 3 dc, with a chain-2 space between each group. Join with a slip stitch to the top of the starting chain 3. If the ring feels crowded, gently slide the stitches around it rather than pulling the yarn tight.
Grow the square evenly
Slip stitch across to the nearest corner space. In that space, work chain 3, 2 dc, chain 2, and 3 dc; this makes the first corner of the next round. Chain 1, then work 3 dc, chain 2, and 3 dc into each remaining corner space, adding a chain 1 between corners.
Join the round with a slip stitch to the top of the starting chain 3. For each new round, work the same corner group into every corner space and a 3-dc group into each chain-1 space along the sides. Change colors at a joined round for a crisp stripe, or keep one shade for a quieter square.